Over 80 percent of American kitchens gather clutter on countertops and hidden corners, making daily cooking feel like a bigger chore than it should be. A messy kitchen does not just look untidy, it can disrupt meals, waste your time, and even affect your mood after a long day. Learn practical steps that quickly transform your American kitchen into an organized, stress-free space—so every mealtime feels easier and more enjoyable from the start.
Table of Contents
- Step 1: Clear Surfaces And Declutter Counters
- Step 2: Gather Cleaning Supplies And Tools
- Step 3: Wipe Down Appliances And Cabinets
- Step 4: Scrub Sinks And Clean Countertops
- Step 5: Sweep And Mop The Kitchen Floor
- Step 6: Inspect And Tidy Up For Lasting Results
Quick Summary
| Essential Insight | Explanation |
|---|---|
| 1. Clear Clutter from Counters | Remove all non-essential items to create functional workspaces for easy meal preparation. |
| 2. Organize Cleaning Supplies | Gather essential cleaning tools into a portable kit for easy access during kitchen cleaning. |
| 3. Systematic Wipe Down | Clean appliances and cabinets methodically to eliminate dirt and bacteria while ensuring no area is overlooked. |
| 4. Thoroughly Clean Sinks and Countertops | Focus on high-traffic surfaces with appropriate cleaners, ensuring they are free of grime and germs. |
| 5. Inspect for Long-Lasting Cleanliness | Conduct a final inspection to tidy up and maintain cleanliness with regular habits for ongoing organization. |
Step 1: Clear Surfaces and Declutter Counters
Kitchen counters are prime real estate for organizing your cooking space effectively. In this step, you’ll learn how to transform cluttered surfaces into clean, functional workspaces that make meal preparation a breeze.
Start by completely clearing off your kitchen counters. Remove everything not directly related to cooking or food preparation. Consumer Reports recommends creating new habits to keep surfaces clear, which means saying goodbye to random mail, keys, charging cables, and miscellaneous items that tend to accumulate.
Group remaining kitchen essentials into logical zones. Place frequently used items like coffee makers, cutting boards, or utensil holders in convenient locations. Use drawer organizers and cabinet storage solutions to relocate items that don’t need constant counter presence. According to AARP’s organization tips, maintaining clear surfaces helps create a more functional and stress-free cooking environment.
Pro tip: Invest in attractive storage containers or a small decorative tray to corral items that absolutely must remain on the counter. This approach keeps your space looking intentional and organized while preventing random clutter from creeping back in.
Once your counters are clear, you’re ready to move on to the next step of kitchen organization. A clean, decluttered surface sets the stage for more efficient cooking and a more enjoyable kitchen experience.
Step 2: Gather Cleaning Supplies and Tools
Preparing your cleaning arsenal is the foundation of an efficient kitchen cleaning process. In this step, you’ll learn how to assemble and organize all the essential tools and supplies needed to transform your kitchen into a sparkling space.

The CDC recommends strategic organization of cleaning supplies to ensure you have everything within easy reach. Start by creating a comprehensive cleaning kit that includes microfiber cloths, all-purpose cleaner, glass cleaner, disinfectant spray, scrub brushes, sponges, paper towels, and a sturdy pair of cleaning gloves. Consider using a portable cleaning caddy or container to keep all your supplies together and easily transportable.
According to University of Florida recommendations, establishing a central storage location for your cleaning tools helps maintain organization and efficiency. Group similar cleaning products together and store them in a cool, dry place away from direct sunlight or heat sources. Pro tip: Always check product labels for specific storage instructions and potential chemical interactions that might compromise cleaning effectiveness.
Separate your cleaning supplies into categories: surface cleaners, disinfectants, scrubbing tools, and protective gear. This systematic approach ensures you can quickly grab what you need without searching through a jumbled collection. Keep your cleaning kit well-stocked and replace items as they run low to avoid interruptions during your cleaning routine.
With your cleaning supplies gathered and organized, you’re now ready to move on to the next step of your kitchen cleaning journey. A well-prepared cleaning kit sets the stage for a thorough and efficient cleaning process.
Step 3: Wipe Down Appliances and Cabinets
Transforming your kitchen from grimy to gleaming requires a systematic approach to cleaning appliances and cabinets. This step will guide you through thoroughly wiping down every surface to eliminate dirt, grease, and bacteria.
Clemson University emphasizes the critical importance of washing surfaces often to prevent bacteria spread. Begin by unplugging electrical appliances and removing any loose items from countertops. Select appropriate cleaning solutions for different surfaces glass cleaners for refrigerator doors, wood-specific products for wooden cabinets, and all-purpose cleaners for stainless steel appliances.
The American Cleaning Institute recommends working systematically around the room to ensure no surface is overlooked. Start with upper cabinets and work your way down, using microfiber cloths to avoid scratching delicate surfaces. Pay special attention to handles, knobs, and edges where grime tends to accumulate. For stubborn grease spots on appliances, use a degreasing solution and allow it to sit for a few minutes before wiping clean.
Pro tip: Always test cleaning solutions on a small, inconspicuous area first to ensure they won’t damage the finish of your appliances or cabinets. Use separate cloths for different surfaces to prevent cross-contamination and achieve a streak-free shine.
With your appliances and cabinets now sparkling clean, you’re ready to move on to the next stage of your kitchen cleaning routine. A thorough wipe-down not only improves appearance but also creates a more hygienic cooking environment.
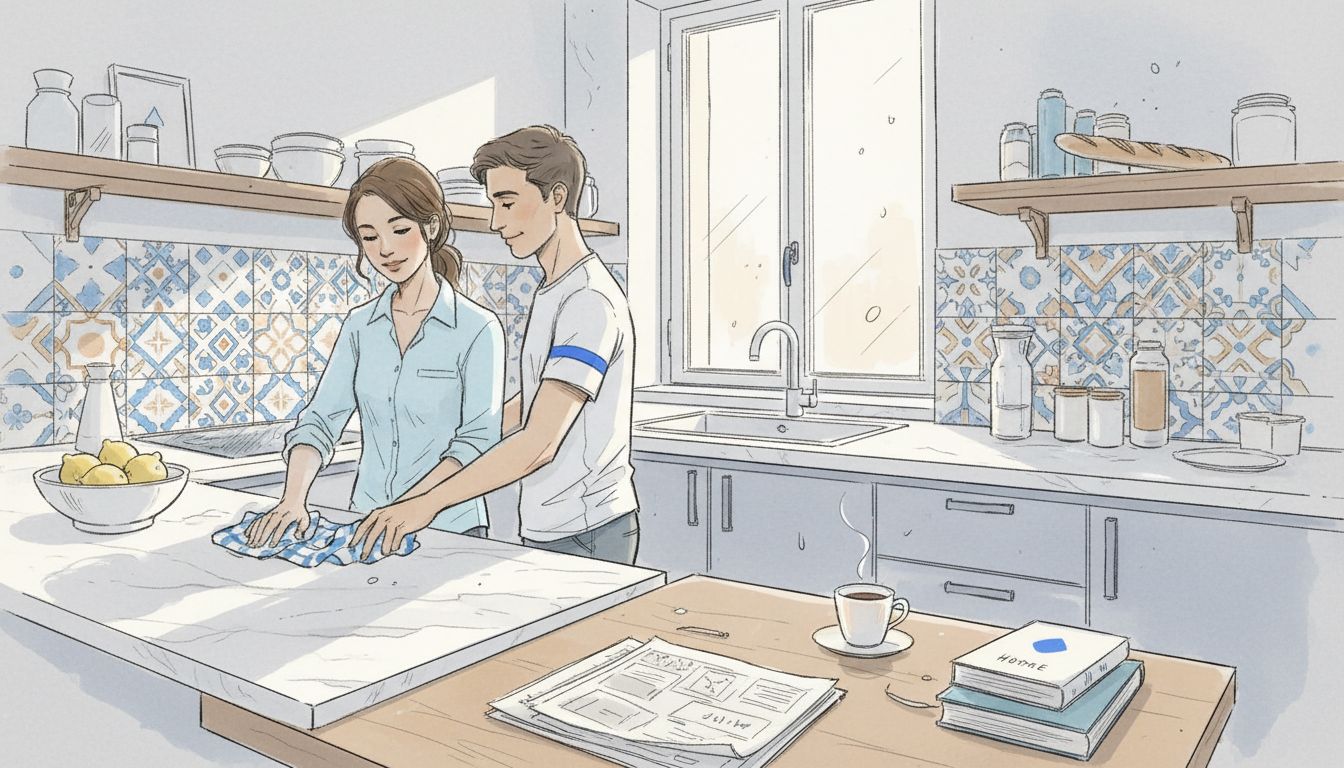
Step 4: Scrub Sinks and Clean Countertops
Your kitchen sink and countertops are the workhorses of your cooking space, constantly exposed to food debris, water spots, and potential bacterial growth. This step will transform these high traffic surfaces from grimy to gleaming.
Perkins School for the Blind highlights the importance of maintaining an organized kitchen by focusing on thorough surface cleaning. Start by clearing all items from your countertops and around the sink area. Choose a cleaning solution appropriate for your specific countertop material whether it is granite, marble, laminate, or stainless steel. For most surfaces, a mixture of warm water and mild dish soap works effectively.
The American Cleaning Institute recommends a systematic approach to kitchen cleaning that ensures no area is overlooked. Begin with the sink by scrubbing with a non abrasive sponge or soft brush, paying special attention to the drain and faucet areas where grime tends to accumulate. For stainless steel sinks, use a specialized cleaner to maintain shine and prevent water spots. When cleaning countertops, work in sections moving from one end to the other to ensure complete coverage.
Pro tip: Always test cleaning solutions on a small hidden area first to ensure they won’t damage or discolor your specific countertop material. Use microfiber cloths for a streak free finish and to prevent scratching delicate surfaces.
With your sink and countertops now sparkling clean, you are one step closer to a fully refreshed kitchen. The attention to detail in this step sets the foundation for a truly clean and hygienic cooking environment.
![]()
Step 5: Sweep and Mop the Kitchen Floor
The kitchen floor is often the most overlooked surface during cleaning, yet it accumulates the most dirt and grime. This final step will help you transform your floor from a hidden mess to a sparkling clean surface that completes your kitchen makeover.
The American Cleaning Institute recommends working systematically from top to bottom when cleaning your kitchen floor. Begin by removing all movable items like rugs, trash cans, and small floor mats. Use a sturdy broom or vacuum with a hard floor attachment to sweep away loose dirt, crumbs, and debris. Pay special attention to corners, edges near cabinets, and areas around appliances where dust and food particles tend to gather.
Perkins School for the Blind emphasizes thorough floor cleaning as part of kitchen maintenance by recommending a two step mopping process. Select a cleaning solution appropriate for your floor type ceramic tile, vinyl, hardwood, or linoleum. Fill a bucket with warm water and your chosen floor cleaner, using a microfiber mop for best results. Start from the farthest corner of the room and work your way towards the exit, using smooth overlapping strokes to ensure complete coverage.
Pro tip: Wring out your mop thoroughly to avoid leaving excess water on the floor, which can cause damage to certain surface types. For stubborn spots, use a soft scrub brush or magic eraser to gently remove stuck on grime without scratching the floor surface.
With your kitchen floor now clean and shining, you have successfully completed a comprehensive kitchen cleaning process. This final step not only improves the appearance of your space but also helps maintain a hygienic cooking environment.
Step 6: Inspect and Tidy Up for Lasting Results
As you complete your kitchen cleaning journey, the final crucial step is ensuring long lasting cleanliness and preventing future mess accumulation. This stage transforms your hard work into a sustainable clean environment that stays organized between deep cleaning sessions.
The University of Florida recommends adopting clean as you go habits to maintain a consistently organized kitchen. Take a systematic walk through your kitchen and look for any missed spots or areas that need additional attention. Check behind appliances, inside drawers, and along baseboards for any lingering dust or grime. Wipe down any surfaces you might have overlooked during previous cleaning steps and ensure everything is returned to its proper place.
The American Cleaning Institute suggests conducting a final systematic inspection to guarantee comprehensive cleanliness. Review your kitchen tools and supplies create a small maintenance checklist for future cleaning sessions. Consider creating designated storage areas for cleaning supplies and establishing a quick daily tidying routine that takes no more than 10 minutes.
Pro tip: Take a moment to appreciate your sparkling clean kitchen. Snap a quick photo to remind yourself of how great a clean space feels and motivate future cleaning efforts. Develop a simple habit of putting things back immediately after use to maintain this level of cleanliness.
By completing this final inspection and tidying step, you have not just cleaned your kitchen but created a system for ongoing maintenance. Your kitchen is now a fresh, organized space ready for your next culinary adventure.
Simplify Your Kitchen Cleaning with Trusted Help in Malta
Keeping your kitchen spotless can feel overwhelming despite following all the detailed steps to clear counters, wipe appliances, scrub sinks, and mop floors. The challenge is sustaining that deep clean regularly without stress or wasted time. This guide highlights the importance of thorough cleaning supplies, systematic routines, and ongoing tidiness to maintain a hygienic and organized kitchen.

Ready to enjoy a sparkling kitchen without the hassle? Discover how easy it is to connect with verified professionals who can handle your kitchen cleaning and maintenance. Explore our Cleaning in Malta Archives | Rozie – Malta’s Best Cleaning Services to find expert cleaners vetted for quality and reliability. Rozie.app offers 7 days a week support and payment protection, ensuring peace of mind. Visit https://rozie.app today and book your trusted cleaner in just minutes. Keep your kitchen fresh and inviting while freeing up your time for what matters most.
Frequently Asked Questions
How can I effectively declutter my kitchen counters?
Start by removing everything from the counters that is not directly related to cooking or food preparation. Create designated zones for your frequently used kitchen items and consider using decorative trays or storage containers to keep necessary items organized.
What cleaning supplies should I gather for a thorough kitchen cleaning?
Gather essential items like microfiber cloths, all-purpose cleaner, disinfectant spray, scrubbing brushes, and sponges. Organize these tools in a portable caddy to make them easily accessible for your cleaning routine.
What is the best way to clean kitchen appliances and cabinets?
Unplug appliances and remove loose items before using appropriate cleaning solutions for different surfaces. Clean systematically, starting from the upper cabinets and moving down to ensure no areas are overlooked.
How do I properly clean my kitchen sink and countertops?
Clear all items from your sink and countertops, then choose a suitable cleaning solution based on your countertop material. Scrub the sink and countertops in sections to ensure a thorough clean and always test solutions on a small, inconspicuous area first.
What steps should I take to clean my kitchen floor?
Begin by removing movable items and sweeping or vacuuming to eliminate loose dirt. Mop with a suitable cleaning solution for your floor type, working from the farthest corner towards the exit for efficient coverage.
How can I maintain a clean kitchen after the deep cleaning process?
Adopt a “clean as you go” habit to keep your kitchen tidy after cleaning. Conduct a quick daily inspection, tidying up in about 10 minutes to prevent mess accumulation and ensure lasting cleanliness.
Recommended
- Oven Cleaning – 5 Ways to Remove Grease Fast | 2025 Guide
- Maid Service in Malta: 10 Cleaning Hacks for Maltese Homes
- Apartment Cleaning Workflow Guide for Busy Malta Homes | Rozie – Malta’s Best Cleaning Services
- Eco Cleaning in Malta: 9 Tips for a Greener Home
- Πώς να καθαρίσετε το στρώμα εύκολα και αποτελεσματικά | Afrokoptiki