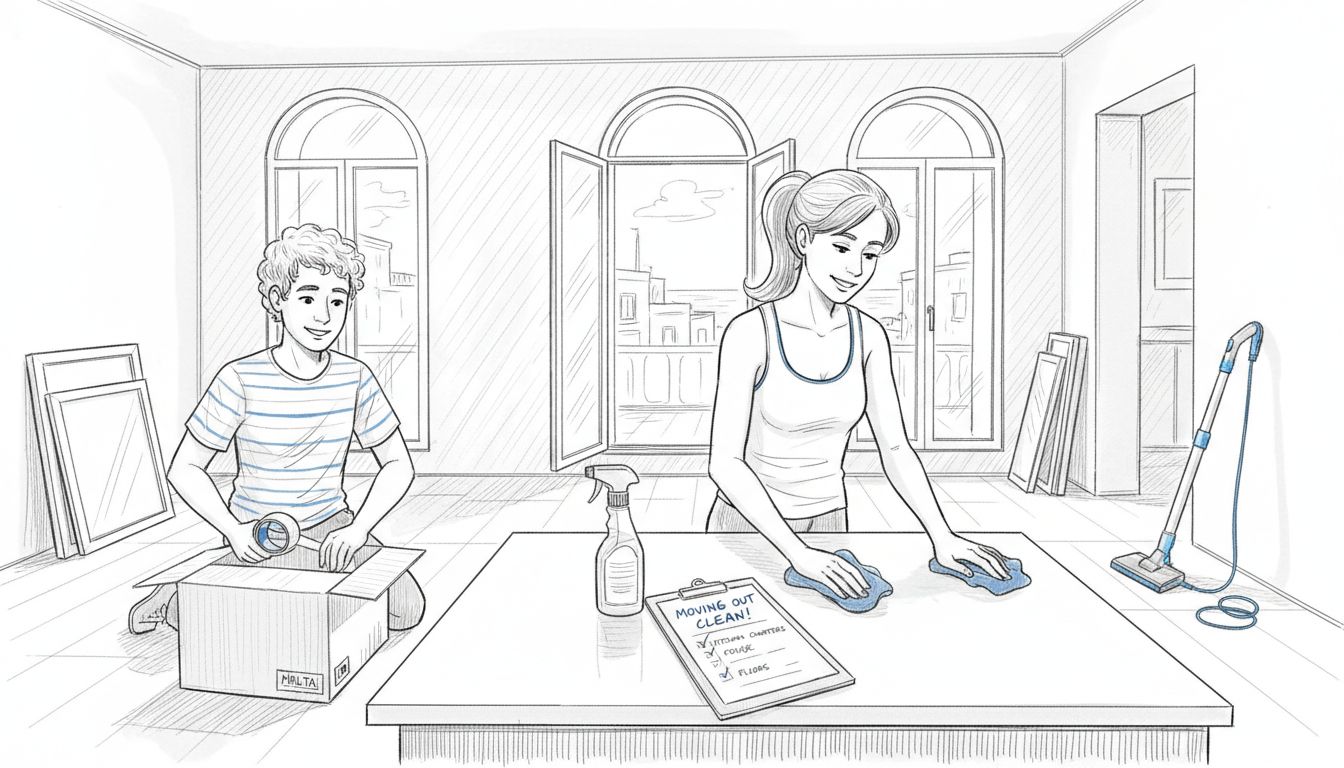
Over 60 percent of renters lose part of their security deposit due to cleaning oversights when moving out. The final walkthrough often reveals forgotten corners, missed stains, or personal items left behind. Mastering a detailed move-out cleaning checklist not only protects your deposit but also saves you from last-minute stress. With step-by-step strategies, you will address every critical spot and finish with confidence, leaving your space spotless and ready for its next resident.
Table of Contents
- Declutter And Remove All Personal Belongings
- Dust And Wipe Down All Surfaces
- Deep Clean Kitchen Appliances And Cabinets
- Sanitize Bathrooms Fully
- Vacuum And Mop All Floors
- Spot Clean Walls, Doors, And Windows
- Double-Check Commonly Missed Areas
Quick Summary
| Takeaway | Explanation |
|---|---|
| 1. Declutter thoroughly before cleaning. | Remove all personal belongings to avoid fees for abandoned property. Check every storage area, including behind furniture and in closets. |
| 2. Use effective cleaning strategies for surfaces. | Dust and wipe down all surfaces, starting top to bottom. Focus on overlooked areas like door handles and baseboards for a complete clean. |
| 3. Deep clean kitchen appliances and cabinets. | Clean inside and out of major appliances like the refrigerator and oven, targeting hidden grime with specialized cleaners. |
| 4. Sanitize bathrooms completely. | Disinfect every bathroom fixture and surface, especially high-contact areas like sinks and toilets, to ensure cleanliness. |
| 5. Double-check commonly missed areas. | Inspect areas like behind furniture and inside light fixtures for dust and dirt that could affect your security deposit. |
1. Declutter and Remove All Personal Belongings
Starting your moving out cleaning process begins with a thorough personal belongings removal. As Bemidji State University instructs, this means checking every single storage space meticulously.
Decluttering is more than just tidying up. It is a strategic approach to ensure you leave your space completely clear and prevent potential additional charges for abandoned property. Start by systematically working through each room.
Key Areas to Check:
- Kitchen cabinets and drawers
- Bedroom closets and wardrobes
- Bathroom shelves and storage units
- Living room entertainment centers
- Desk drawers and workspaces
Be ruthless in your approach. Pull out every item from drawers and shelves. Check behind furniture and inside cabinet corners. Anything left behind could result in removal fees or cleaning charges.
A smart strategy is to create three piles while decluttering: keep, donate, and trash. This helps you organize efficiently and ensures nothing important gets accidentally discarded. Pack items you are keeping securely and remove donation or trash items immediately.
Pro Tip: Take photos of the space after decluttering to document your thorough cleaning and protect yourself from potential disputes about the property’s condition.
2. Dust and Wipe Down All Surfaces
Dusting and wiping all surfaces is a critical step in your moving out cleaning process. As California State University, Chico recommends, returning a space to its original condition requires meticulous attention to every surface.
Effective surface cleaning goes beyond quick wipes. You want to remove dust, fingerprints, and accumulated grime from every possible area. This means targeting surfaces most people overlook.
Surfaces to Clean Thoroughly:
- Windowsills and window frames
- Door handles and light switches
- Baseboards and crown molding
- Ceiling corners and fan blades
- Shelves and mantels
- Furniture tops and sides
Start from top to bottom to prevent dust from falling onto already cleaned surfaces. Use microfiber cloths for best results. They trap dust more effectively than regular rags and do not leave lint behind.
Prepare a cleaning solution with warm water and mild detergent. For wooden surfaces, use specialized wood cleaners. Always test cleaning solutions on a small hidden area first to ensure no damage occurs.
Pro Tip: For a streak-free finish on glass and mirrored surfaces, use a mixture of white vinegar and water. This natural solution cuts through grime without leaving residue.
3. Deep Clean Kitchen Appliances and Cabinets
Kitchen cleaning requires more than a surface wipe. As University of Wyoming recommends, a thorough cleaning involves addressing every nook and cranny of your kitchen appliances and storage spaces.
Your goal is to leave the kitchen spotless and ready for the next occupant. This means going beyond basic cleaning and performing a comprehensive deep clean that tackles hidden grime and accumulated dirt.
Key Appliances to Clean Thoroughly:
- Refrigerator interior and exterior
- Oven and stovetop
- Microwave inside and out
- Dishwasher
- Kitchen cabinets and drawers
Start with the refrigerator. Remove all food items and shelves. Wash removable parts with warm soapy water. Wipe interior walls with a mixture of baking soda and water to neutralize odors and remove stains.
For the oven, use a specialized degreasing cleaner or create a paste with baking soda and water. Apply the mixture and let it sit for several hours before scrubbing. This method cuts through tough, baked-on grease without harsh chemicals.
Pro Tip: Use a toothbrush to clean hard-to-reach areas around knobs, hinges, and tight corners of kitchen appliances. These spots often accumulate the most stubborn grime.
4. Sanitize Bathrooms Fully
Bathroom sanitation goes far beyond a quick surface wipe. As DePauw University recommends, a comprehensive bathroom cleaning requires meticulous attention to every fixture and surface.
Your goal is to create a thoroughly disinfected space that looks and feels completely clean. This means targeting not just visible surfaces but also areas prone to bacteria and grime buildup.
Critical Bathroom Sanitation Areas:
- Toilet bowl and seat
- Sink and faucets
- Shower and bathtub
- Bathroom tiles
- Mirror and glass surfaces
- Floor and baseboards
Start with the toilet. Use a specialized bathroom cleaner with disinfectant properties. Apply the cleaner inside the bowl and let it sit for several minutes before scrubbing thoroughly. Pay special attention to the rim and hard-to-reach areas under the seat.
For tiles and glass surfaces, create a mixture of white vinegar and water. This natural solution cuts through soap scum and water spots without leaving chemical residues. Use microfiber cloths for streak-free cleaning and maximum bacteria removal.
Pro Tip: Always work from top to bottom when cleaning bathrooms. Start with mirrors and high surfaces, then move to countertops, fixtures, and finally the floor. This prevents dust and grime from falling onto already cleaned areas.
5. Vacuum and Mop All Floors
Floor cleaning is more than a simple aesthetic task. As University of Wyoming recommends, a comprehensive floor cleaning involves strategic approaches for different surface types.
Your floor cleaning process should address every type of flooring in your space. Different surfaces require unique cleaning techniques to maintain their appearance and integrity.
Floor Cleaning Strategy:
- Hardwood floors
- Tile surfaces
- Carpeted areas
- Laminate flooring
- Vinyl and linoleum
Begin with vacuuming carpeted areas thoroughly. Use attachments to reach corners and edges where dust accumulates. For hard surfaces, start by sweeping or using a dry mop to remove loose debris before wet mopping.
Choose cleaning solutions specific to your floor type. Hardwood floors need gentle cleaners that protect the finish. Tile and vinyl can handle more robust cleaning solutions. Always test a small hidden area first to ensure no discoloration occurs.
Pro Tip: Move furniture and area rugs to clean underneath. These hidden areas often collect the most dust and dirt, and a truly thorough cleaning means addressing every square inch of floor space.
6. Spot Clean Walls, Doors, and Windows
Wall and surface cleaning requires precision and careful attention. As California State University, Chico recommends, removing residues and addressing every surface detail is crucial during move-out cleaning.
Your goal is to restore walls, doors, and windows to their original pristine condition. This means tackling marks, dust, and residual grime that accumulate over time.
Critical Areas to Address:
- Wall scuff marks
- Tape and sticker residues
- Fingerprints on doors
- Dust around window frames
- Cobwebs in corners
- Smudges on glass surfaces
Begin with walls. Use a magic eraser or soft sponge with mild detergent to gently remove scuff marks. For stubborn tape residues, apply a small amount of rubbing alcohol on a cloth and carefully wipe the area.
Windows require special attention. Use a microfiber cloth and a streak-free glass cleaner. Work from top to bottom in a consistent motion to prevent drip marks. Pay extra attention to window sills and tracks where dust tends to accumulate.
Pro Tip: Always test cleaning solutions on a small hidden area first to ensure they do not damage paint or surface finishes.
7. Double-Check Commonly Missed Areas
A thorough move-out cleaning requires meticulous attention to detail. As University of Wyoming recommends, double-checking often overlooked spaces can make the difference between a successful and problematic move-out.
Most people focus on obvious cleaning tasks and accidentally skip critical areas that can cost them their security deposit or create issues with property managers.
Frequently Overlooked Cleaning Zones:
- Behind and underneath furniture
- Inside kitchen drawers and cabinets
- Light fixtures and ceiling fans
- Electrical outlet covers
- Window tracks and blinds
- Inside refrigerator and oven
Start by moving all furniture away from walls. Vacuum or sweep these hidden areas where dust and debris accumulate. Check inside drawers and remove any forgotten items. Wipe down interior surfaces with a disinfectant cloth to ensure complete cleanliness.
Inspect light fixtures and replace any burned-out bulbs. Clean ceiling fan blades and light switch plates. These small details demonstrate your commitment to leaving the space in excellent condition.
Pro Tip: Take photos of the cleaned space after you finish. This provides documentation of the property’s condition and protects you from potential disputes about cleaning standards.
Below is a comprehensive table summarizing the steps and strategies involved in executing a successful move-out cleaning process.
| Main Step | Key Points & Actions | Benefits/Outcomes |
|---|---|---|
| Declutter and Remove All Personal Belongings | Check all storage spaces; create keep, donate, and trash piles; document with photos. | Prevents additional charges; ensures thoroughness. |
| Dust and Wipe Down All Surfaces | Clean from top to bottom; use microfiber cloths; test cleaning solutions on small areas first. | Ensures a dust-free, neat space. |
| Deep Clean Kitchen Appliances and Cabinets | Address all kitchen areas; use baking soda solutions; clean hard-to-reach spots with a toothbrush. | Leaves the kitchen spotless for the next occupant. |
| Sanitize Bathrooms Fully | Focus on all fixtures and surfaces; use vinegar solution for tiles; work top to bottom. | Results in a disinfected, clean bathroom. |
| Vacuum and Mop All Floors | Vacuum before mopping; choose appropriate cleaners; move furniture for thorough cleaning. | Achieves a spotless and well-maintained floor. |
| Spot Clean Walls, Doors, and Windows | Remove marks with magic erasers; clean window tracks; test solutions first. | Restores surfaces to pristine condition. |
| Double-Check Commonly Missed Areas | Look behind furniture; clean light fixtures and fan blades; check inside appliances. | Ensures complete cleanliness and protection of deposit. |
Make Moving Out Cleaning Stress-Free with Verified Help from Rozie
Moving out can feel overwhelming when faced with the detailed cleaning tasks like decluttering, deep kitchen scrubbing, and bathroom sanitation described in the “7 Must-Do Steps for a Moving Out Cleaning Checklist Malta”. You want to leave your space spotless and avoid extra charges, but the time and effort needed often stand in the way. If you are worried about missing commonly overlooked areas or just want to ensure a thorough job, professional help can be your smartest move.
Discover how easy it is to book a trusted cleaner who understands these exact challenges on Cleaning in Malta Archives | Rozie – Malta’s Best Cleaning Services. Rozie.app connects you instantly with verified cleaners who are reliable, vetted, and ready to deliver high quality results tailored to moving out needs. With 7 days a week support and payment protection, you can relax knowing the job will be done right. Take the stress out of your move by getting a cleaning expert through Rozie now. Visit Rozie.app to find your perfect match and breeze through your moving out day.
Frequently Asked Questions
What is the first step in a moving out cleaning checklist?
The first step is to declutter and remove all personal belongings from the space. Systematically check every room, including kitchen cabinets and bedroom closets, to ensure nothing is left behind that could incur extra charges.
How do I effectively deep clean kitchen appliances before moving out?
Deep cleaning kitchen appliances involves tackling both the interior and exterior. Begin with the refrigerator by removing all items and cleaning shelves, then proceed to the oven and microwave, using safe and effective cleaning solutions for thorough results.
What should I focus on when sanitizing bathrooms during a move-out?
Pay special attention to toilets, sinks, showers, and mirrors to ensure all surfaces are disinfected and free from grime. Use a bathroom cleaner with disinfectant properties and a vinegar-water solution for tiles to eliminate soap scum effectively.
How can I ensure I don’t miss any cleaning areas while moving out?
To avoid missing cleaning areas, make a checklist of commonly overlooked zones, such as behind furniture and inside cabinets. Double-check these areas to provide a cleaned space ready for the next occupant and protect your security deposit.
What’s the best method for vacuuming and mopping floors during a move-out?
Begin by vacuuming all carpeted areas thoroughly, including edges and corners, and then sweep or dry mop hard surfaces before wet mopping. This two-step process ensures that loose debris is removed and floors look spotless.
How do I spot clean walls and doors effectively when moving out?
Use a magic eraser or mild detergent to gently remove scuff marks from walls and fingerprints from doors. This targeted approach helps restore surfaces to their original condition and prevents potential cleaning disputes with property managers.
Recommended
- Essential Move-Out Cleaning Tips for a Spotless Exit | Rozie – Malta’s Best Cleaning Services
- End-of-Tenancy Cleaning Malta: Checklist to Get Deposit Back
- What is Move-In Move-Out Cleaning? Understanding the Process | Rozie – Malta’s Best Cleaning Services
- What is Move-Out Cleaning? Understanding the Essentials | Rozie – Malta’s Best Cleaning Services
- Spring Clean On A Budget – Mortgage Managers