Over 80 percent of American households report that clutter leads to higher stress levels and lost productivity. Tackling cleaning without a strategy often turns into a frustrating cycle, leaving you overwhelmed instead of organized. When you start with thoughtful decluttering, targeted dusting, and consistent floor care, you set the stage for a cleaner, healthier, and more peaceful home in every American neighborhood.
Table of Contents
- 1. Start With Decluttering Every Room
- 2. Focus On Dusting Surfaces And Fixtures
- 3. Clean Floors: Vacuuming And Mopping Tips
- 4. Tackle Kitchen: Counters, Appliances, And Sink
- 5. Bathroom Deep Cleaning Made Easy
- 6. Quick Bedroom Refresh Checklist
- 7. Finishing Touches: Trash, Air, And Final Checks
Quick Summary
| Key Insight | Explanation |
|---|---|
| 1. Declutter Strategically | Start by categorizing items into keep, donate, and discard to simplify decision-making during cleaning. |
| 2. Dust Top to Bottom | Clean high surfaces first to prevent dust from falling on already cleaned areas, using proper dusting techniques. |
| 3. Vacuum Before Mopping | Always vacuum first to remove debris before mopping to ensure a deeper clean without damage to floors. |
| 4. Focus on Kitchen Hygiene | Use appropriate cleaners for different kitchen surfaces to prevent bacterial growth and maintain sanitation. |
| 5. Final Inspection is Key | Always conduct a final check for missed spots and clean remaining dust and smudges for a polished finish. |
1. Start with Decluttering Every Room
Decluttering is the essential first step in creating a clean and organized home environment. When you systematically remove unnecessary items from your living spaces, you transform chaotic rooms into peaceful sanctuaries.
Begin by understanding that clutter is more than just physical items. It represents mental and emotional weight that can drain your energy and reduce productivity. Every unnecessary object takes up space not just physically but psychologically. By methodically sorting through your belongings, you create a sense of control and clarity.
To start decluttering effectively, approach each room with a strategic mindset. Select a single area or room and create three primary sorting categories: keep, donate, and discard. This simple system helps you make quick decisions about each item. Pick up an object and immediately place it in one of these categories without overthinking.
Focus first on high traffic areas like living rooms, bedrooms, and kitchen countertops. These spaces accumulate items quickly and tend to become clutter magnets. Remove items that do not serve a current purpose or bring genuine joy. Ask yourself critical questions: When was the last time I used this? Does this item enhance my life?
Pro tip: Set a timer for 20 minutes when decluttering to prevent overwhelm. Short, focused sessions are more effective than marathon cleaning efforts and help maintain your motivation.
2. Focus on Dusting Surfaces and Fixtures
Dusting is more than a cosmetic task it is essential for maintaining a healthy living environment. Systematic cleaning of surfaces and fixtures removes allergens, dust mites, and accumulated grime that can impact your indoor air quality and overall home hygiene.
Start by understanding the different surfaces in your home and their unique cleaning requirements. Wooden furniture, glass surfaces, electronics, and decorative items each demand specific dusting techniques. Soft microfiber cloths are your best tool for most surfaces, as they trap dust particles instead of spreading them around.
Begin your dusting routine from top to bottom. This prevents dust from resettling on already cleaned surfaces. Focus first on high surfaces like ceiling fans, top of cabinets, and wall shelves. Work your way down to lower surfaces like coffee tables, side tables, and baseboards. For delicate surfaces like electronics, use specialized anti static dusting cloths that prevent potential damage.
Pay special attention to often overlooked areas such as light fixtures, window sills, picture frames, and decorative items. These areas can accumulate significant dust over time. Use extendable dusting tools for hard to reach spots, ensuring a comprehensive cleaning approach.
Pro tip: Keep a dedicated microfiber cloth set for different surfaces to prevent cross contamination and maintain the best cleaning results.
3. Clean Floors: Vacuuming and Mopping Tips
Floor cleaning represents the foundation of a truly spotless home environment. Proper floor maintenance involves strategic vacuuming and mopping techniques that protect your surfaces while ensuring maximum cleanliness.
Begin by selecting the right cleaning tools for your specific floor types. Hardwood floors, tile surfaces, laminate, and carpeted areas each require unique approaches. For hardwood and laminate, use a microfiber mop that captures dust without scratching. Carpeted areas demand a vacuum with adjustable height settings to accommodate different pile depths and prevent potential surface damage.
Vacuuming should always precede mopping. Start by removing loose debris using slow, overlapping strokes. Pay extra attention to high traffic zones like entryways, hallways, and kitchen areas. Use vacuum attachments to reach corners, baseboards, and areas around furniture where dust and dirt accumulate most frequently.
When mopping, choose cleaning solutions appropriate for your floor material. Avoid saturating floors with excessive water, which can damage wooden surfaces or seep into grout lines. Use a well wrung out mop and work in sections, rinsing your mop frequently to prevent spreading dirt around. For tile and ceramic surfaces, a slightly damp microfiber mop with a pH neutral cleaner works best.
Pro tip: Invest in machine washable microfiber mop pads to save money and maintain consistent cleaning performance across different floor surfaces.
4. Tackle Kitchen: Counters, Appliances, and Sink
The kitchen demands specialized cleaning attention because it is the heart of food preparation and daily family activity. Professional cleaning standards emphasize thorough sanitization of kitchen surfaces to prevent bacterial growth and maintain overall hygiene.
Begin by clearing all surfaces and gathering specialized cleaning supplies for different materials. Stainless steel appliances require microfiber cloths and specific metal cleaners, while granite countertops need pH neutral solutions. Separate your cleaning tools to prevent cross contamination between different surface types.
Start with countertops, working systematically from one end to another. Use disinfectant sprays that kill 99.9% of bacteria, paying extra attention to areas around the stove and sink where food residue accumulates. For stubborn grease spots, create a paste using baking soda and water that gently scrubs without scratching surfaces.
Move to appliances with a methodical approach. Clean refrigerator seals, stovetop burners, and microwave interiors. Remember that small details like handle areas and control panels collect significant amounts of bacteria. Use appropriate cleaning agents for each appliance surface to prevent damage and maintain their appearance.
Pro tip: Keep a designated microfiber cloth set for kitchen cleaning to ensure you always have clean tools ready and prevent potential cross surface contamination.
5. Bathroom Deep Cleaning Made Easy
Bathroom cleaning requires a strategic approach that goes beyond surface level wiping. Professional cleaning standards emphasize thorough sanitization techniques to eliminate bacteria and maintain hygienic conditions.
Begin with a systematic method that tackles different surfaces methodically. Start from top to bottom to prevent dust and grime from settling on already cleaned areas. Focus first on high surfaces like light fixtures, mirrors, and exhaust fans before moving to countertops, sinks, and toilet areas.
Select specialized cleaning products appropriate for each bathroom surface. Porcelain fixtures require non abrasive cleaners, while glass and chrome demand microfiber cloths and streak free solutions. Pay extra attention to areas prone to moisture buildup like grout lines, shower corners, and sink edges where mold and mildew can develop quickly.
Disinfection is crucial in bathroom cleaning. Use antibacterial solutions that kill 99.9% of germs, focusing on high touch areas like faucet handles, toilet flush mechanisms, and doorknobs. Scrub tiles and shower surfaces with dedicated tile cleaners that remove soap scum and prevent mineral deposit buildup.
Pro tip: Keep a squeegee in your shower to wipe down surfaces after each use, dramatically reducing time spent on deep cleaning and preventing water stain accumulation.
6. Quick Bedroom Refresh Checklist
A bedroom refresh transforms your personal space from cluttered to calm, creating an environment that promotes relaxation and mental clarity. Strategic bedroom organization can significantly improve your overall sense of well being and daily productivity.
Begin with surface level decluttering by removing items that do not belong in the bedroom. Clear nightstands, dresser tops, and any chairs that have become impromptu clothing storage. Collect dirty laundry, return misplaced items to their proper rooms, and create a clean visual landscape.
Focus on bedding as the centerpiece of your bedroom refresh. Strip and wash all linens, including sheets, pillowcases, and comforters. While linens are washing, dust surfaces like headboards, window sills, and ceiling fan blades. Use microfiber cloths to trap dust effectively without spreading particles around the room.
Pay special attention to often overlooked areas like under the bed, inside drawers, and bedroom corners. These spaces accumulate dust and clutter quickly. Vacuum or sweep thoroughly, using attachments to reach tight spaces. Organize drawer contents, folding clothes neatly and discarding items you no longer wear or need.
Pro tip: Set a 15 minute timer for your bedroom refresh to prevent feeling overwhelmed and maintain momentum during cleaning.
7. Finishing Touches: Trash, Air, and Final Checks
The final stage of cleaning transforms a merely clean space into a truly refreshed environment. Professional cleaning guidelines emphasize the critical importance of waste management and air quality as the concluding steps in thorough home maintenance.
Begin by systematically emptying all trash receptacles throughout your home. Replace trash bags, wipe down interior bins with disinfectant, and ensure no residual waste remains. Clear trash from every room, including small wastebaskets in bathrooms, bedrooms, and home office spaces.
Next, focus on air quality and circulation. Open windows to allow fresh air to circulate and eliminate any lingering cleaning solution odors. Use natural air purifiers like activated charcoal bags or strategically placed houseplants to absorb moisture and neutralize ambient smells. Consider running an air purifier with a HEPA filter to capture any remaining dust particles.
Conduct a final walkthrough with a critical eye. Look for missed spots like baseboards, light switch plates, door handles, and corners. Use a microfiber cloth for a quick touch up of any remaining dust or smudges. Check reflective surfaces like mirrors and glass to ensure a streak free finish.
Pro tip: Keep a small microfiber cloth in your cleaning caddy for last minute touch ups during your final room inspection.
Below is a comprehensive table summarizing the main cleaning strategies and benefits discussed throughout the article.
| Main Step | Key Points & Actions | Benefits/Outcomes |
|---|---|---|
| Decluttering Every Room | Systematically sort items into keep, donate, discard categories; focus on high traffic areas; set a timer to manage tasks. | Reduced mental clutter; increased clarity and control over surroundings. |
| Dusting Surfaces & Fixtures | Use microfiber cloths; clean from top to bottom; focus on neglected areas like picture frames and light fixtures. | Improved air quality; reduced allergens and grime. |
| Cleaning Floors | Vacuum before mopping; use appropriate tools for different floors; avoid excess water. | Protection of floor surfaces; maximum cleanliness. |
| Kitchen Cleaning | Use specific cleaning supplies for various surfaces; disinfect surfaces thoroughly; clean appliances carefully. | Prevention of bacterial growth; maintained hygiene. |
| Bathroom Deep Cleaning | Start from top to bottom; use non-abrasive cleaners; focus on moisture-prone areas. | Elimination of bacteria; hygienic bathroom environment. |
| Quick Bedroom Refresh | Declutter surfaces; clean bedding; reach overlooked areas. | Enhanced relaxation and a clear, organized space. |
| Finishing Touches | Empty trash; improve air quality; perform a final check for missed spots. | Freshness, waste management, improved air circulation. |
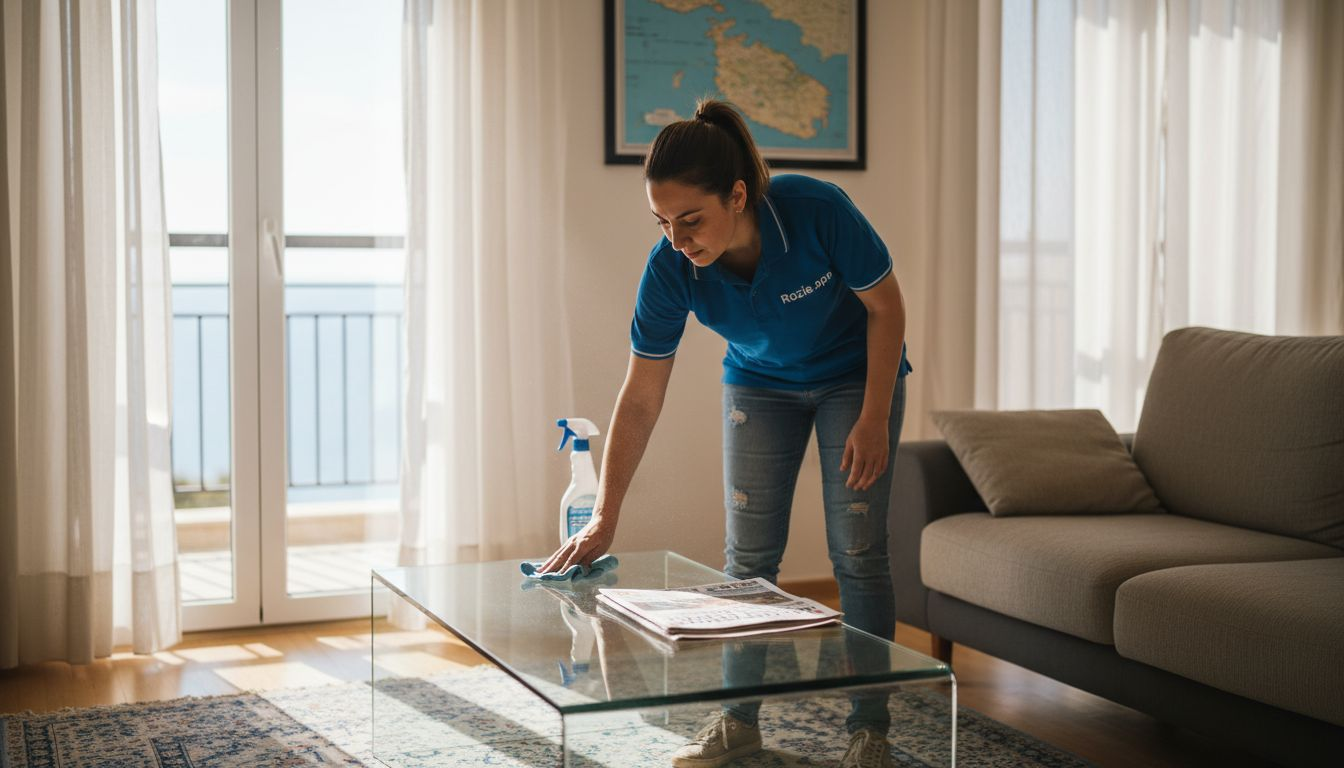
Simplify Your 7 Step Household Cleaning Checklist with Expert Help
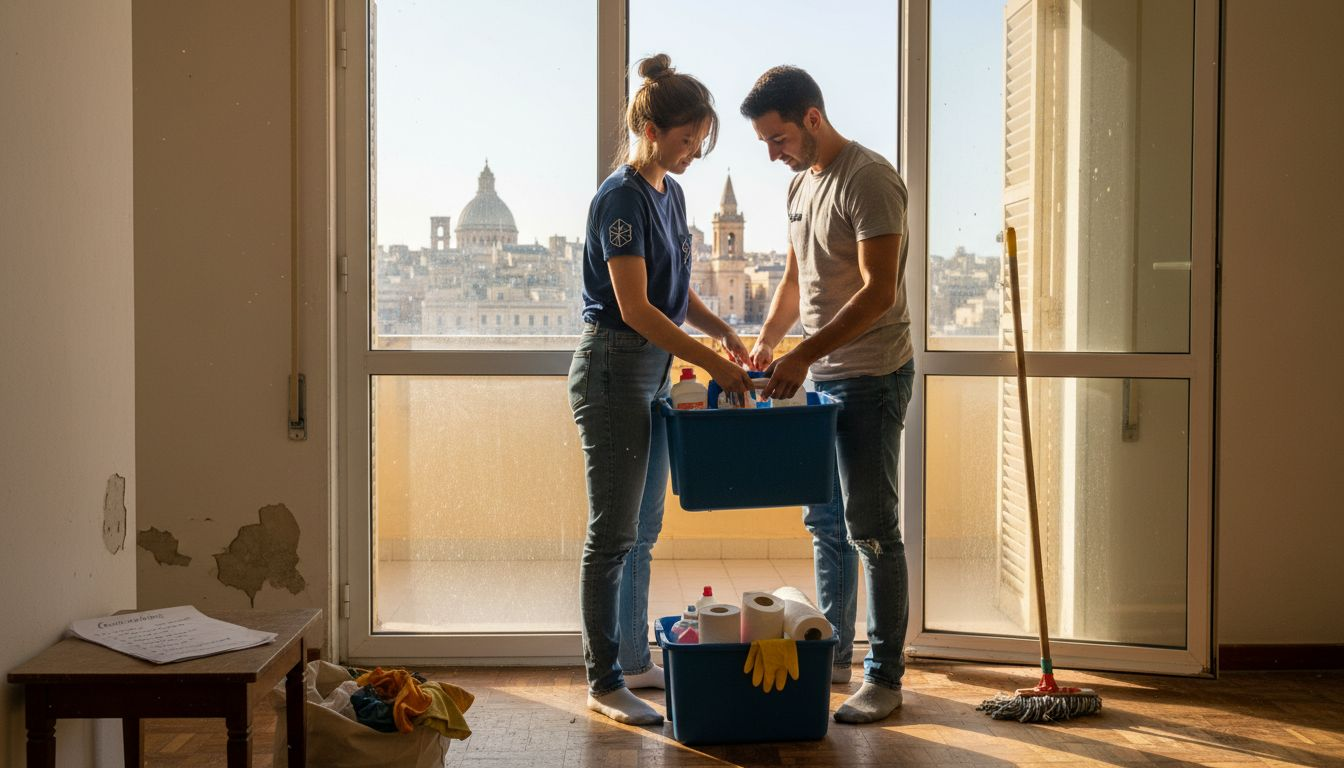
Keeping up with the detailed steps of a complete household cleaning checklist can quickly become overwhelming. From decluttering to deep cleaning your kitchen and bathroom, the process requires time, effort, and the right expertise to do it well. If you find yourself struggling to maintain a spotless home or juggling cleaning tasks with your busy schedule, professional assistance is just a click away.

Discover how easy it is to book verified cleaners through Rozie.app, Malta’s trusted platform connecting you with background-checked cleaning professionals ready to tackle everything from dusting surfaces to floor care. Whether you need help with a quick bedroom refresh or a thorough bathroom deep cleaning, you can find reliable services tailored to your needs. Explore success stories and cleaning tips in our Cleaning in Malta Archives as you take the first step towards a fresher, healthier home. Don’t wait to enjoy the peace of mind that comes from professional cleaning support. Visit Rozie.app now and simplify your household cleaning today.
Frequently Asked Questions
What are the steps in the complete household cleaning checklist?
To follow the complete household cleaning checklist, start with decluttering every room, next dust surfaces and fixtures, and then clean the floors by vacuuming and mopping. After that, tackle the kitchen by cleaning counters, appliances, and the sink, followed by a thorough bathroom deep cleaning. Conclude with a bedroom refresh and finish by managing trash and improving air quality.
How can I effectively declutter my home during the cleaning process?
To effectively declutter, tackle one area or room at a time and sort items into three categories: keep, donate, and discard. Set a timer for short sessions, like 20 minutes, to maintain focus and prevent feeling overwhelmed.
What cleaning products should I use for different surfaces?
Use specialized cleaning products suited for each surface type; for example, use microfiber cloths for dusting, pH neutral solutions for granite countertops, and non-abrasive cleaners for porcelain fixtures in the bathroom. Identify and gather all necessary cleaning supplies before starting to ensure an efficient cleaning process.
How often should I perform a complete household cleaning?
Aim to perform a complete household cleaning at least once a month to maintain a clean and organized living environment. Incorporate quick weekly touch-ups to keep surfaces and spaces tidy between deep cleaning sessions.
What techniques can help me clean my kitchen and bathroom efficiently?
In the kitchen, prioritize cleaning high-touch areas and use disinfectants for surfaces that encounter food residue. For bathrooms, begin with high surfaces before moving down, ensuring thorough disinfection of faucets and toilet areas to achieve optimal hygiene.
How can I improve air quality after cleaning?
To improve air quality, open windows for fresh air circulation and consider using houseplants or natural air purifiers to absorb odors. Perform a final inspection for any lingering dust and use a microfiber cloth for touch-ups to ensure a fresh ambiance in your home.
Recommended
- 7 Essential Tips for Your Household Cleaning Planner | Rozie – Malta’s Best Cleaning Services
- Efficient Apartment Cleaning Checklist Guide for Busy Lives | Rozie – Malta’s Best Cleaning Services
- Apartment Cleaning Workflow Guide for Busy Malta Homes | Rozie – Malta’s Best Cleaning Services
- Holiday Home Cleaning Steps for a Spotless Stay | Rozie – Malta’s Best Cleaning Services
- Maintain Your Home After Your Cleaning Service: Step-by-Step Guide