Cleaning your apartment can feel like an overwhelming hassle, especially when you picture the piles of clutter and endless dust hiding in every corner. Yet statistics show that having your cleaning supplies prepared ahead of time can save you up to 30 percent of your total cleaning time. Most people focus on which products to buy or which fancy gadgets to use. But the real secret to a spotless and stress-free space is all about the right preparation steps and a simple, strategic sequence no one talks about.
Table of Contents
- Step 1: Gather Your Cleaning Supplies And Tools
- Step 2: Declutter Each Room Systematically
- Step 3: Clean Surfaces Starting From Top To Bottom
- Step 4: Deep Clean Key Areas Thoroughly
- Step 5: Verify Cleanliness And Tidy Up
Quick Summary
| Key Point | Explanation |
|---|---|
| 1. Organize your cleaning supplies first | Assemble a cleaning kit with essential tools to streamline your cleaning process and avoid interruptions. |
| 2. Systematic decluttering enhances efficiency | Tackle one room at a time using sorting categories to create a clutter-free environment that’s easier to maintain. |
| 3. Clean from top to bottom | This approach prevents dirt from falling onto already cleaned areas, ensuring a more efficient cleaning process. |
| 4. Focus on deep cleaning key areas | Address high-traffic spots like kitchens and bathrooms that accumulate the most grime, providing a healthier living space. |
| 5. Conduct a final cleanliness verification | Inspect every room for missed spots and ensure a fresh scent to confirm that your cleaning efforts are effective and thorough. |
Step 1: Gather Your Cleaning Supplies and Tools
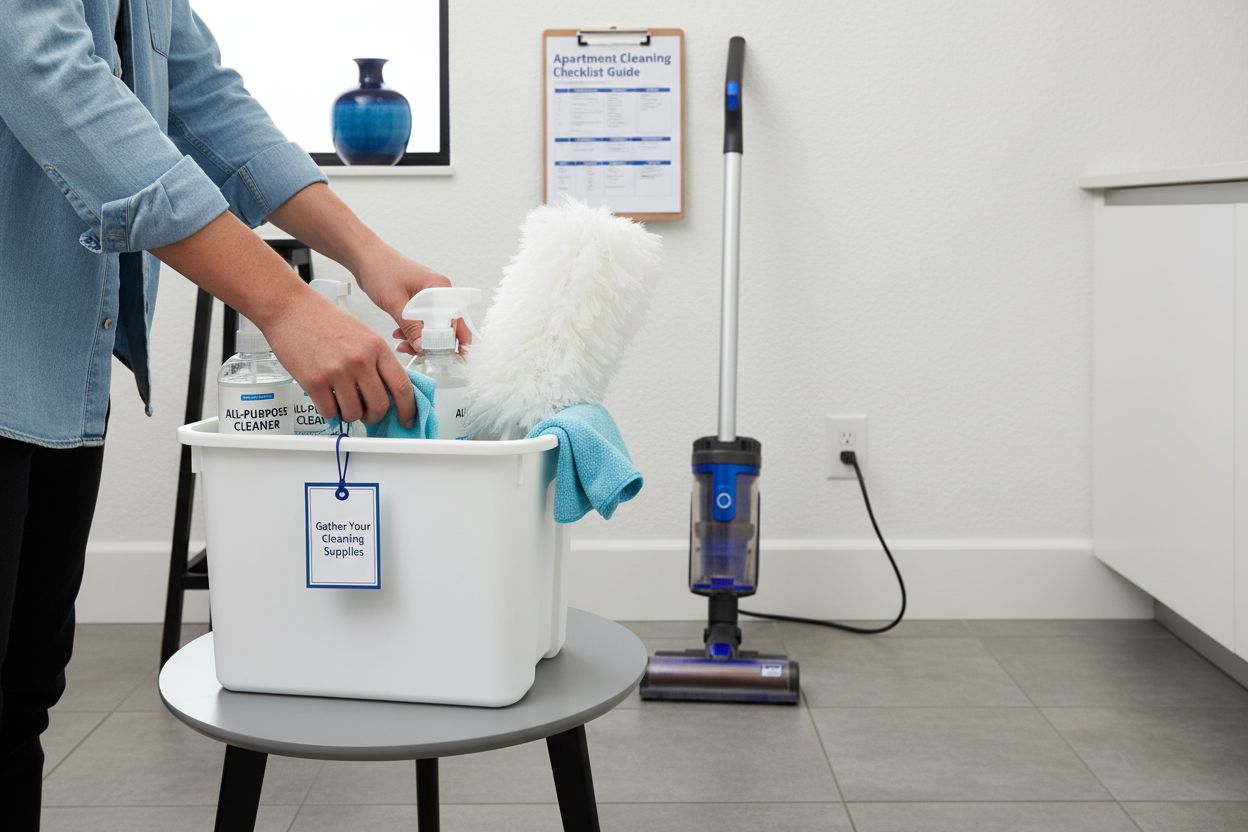
Starting an efficient apartment cleaning process begins with proper preparation. Organizing your cleaning supplies beforehand saves significant time and prevents frustrating interruptions during your cleaning routine. Professional cleaners understand that having the right tools readily available makes the entire process smoother and more effective.
Begin by assembling a comprehensive cleaning kit that will serve as your primary arsenal against dirt and clutter. Your essential cleaning toolkit should include versatile items that can handle multiple surfaces and challenges. Select cleaning supplies that are multipurpose and efficient, reducing the number of products you need to purchase and store.
Consider gathering the following core cleaning tools and supplies:
- Microfiber cloths for dust and surface cleaning
- All-purpose cleaner for general surface maintenance
Select cleaning products that are appropriate for different surfaces in your apartment. Hardwood floors, tile, stainless steel, and glass each require specific cleaning approaches. Invest in specialized cleaners that protect and maintain your specific surfaces without causing damage. Look for environmentally friendly options that provide effective cleaning without harsh chemicals.
Storage matters as much as the supplies themselves. Create a designated cleaning caddy or portable container where all your supplies can be neatly organized and easily transported between rooms. This strategy eliminates the constant back-and-forth that can make cleaning feel more time-consuming. Check out our guide on efficient household cleaning planners for more organizational tips that can streamline your cleaning process.
Additionally, consider the ergonomics of your cleaning tools. Select lightweight, comfortable equipment that reduces physical strain. Extendable dusters, lightweight vacuum cleaners, and microfiber mops with adjustable handles can make cleaning less physically demanding and more enjoyable.
Before starting your cleaning session, do a quick inventory of your supplies. Replace any nearly empty bottles, wash or replace worn cleaning cloths, and ensure your tools are in good working condition.
To help you quickly assemble your cleaning kit, here is a table summarizing the essential supplies, their uses, and any special considerations mentioned in the guide.
| Item | Purpose | Special Considerations |
|---|---|---|
| Microfiber cloths | Dusting, wiping surfaces | Rewash or replace when worn |
| All-purpose cleaner | General surface cleaning | Choose multipurpose for efficiency |
| Specialized cleaners | Specific surface care | Select based on wood, tile, or glass |
| Lightweight vacuum | Floor and carpet cleaning | Opt for easy-to-carry models |
| Extendable dusters | Cleaning high surfaces | Prefer adjustable and ergonomic tools |
| Microfiber mop | Mopping hard floors | Adjustable handle recommended |
| Cleaning caddy | Organizing and carrying kit | Keeps all tools portable and accessible |
| This preparatory step prevents mid-cleaning interruptions and keeps your cleaning process efficient and smooth. |
Remember that having the right supplies is just the beginning. The key is creating a systematic approach that makes cleaning feel less like a chore and more like a manageable, routine task.
Step 2: Declutter Each Room Systematically
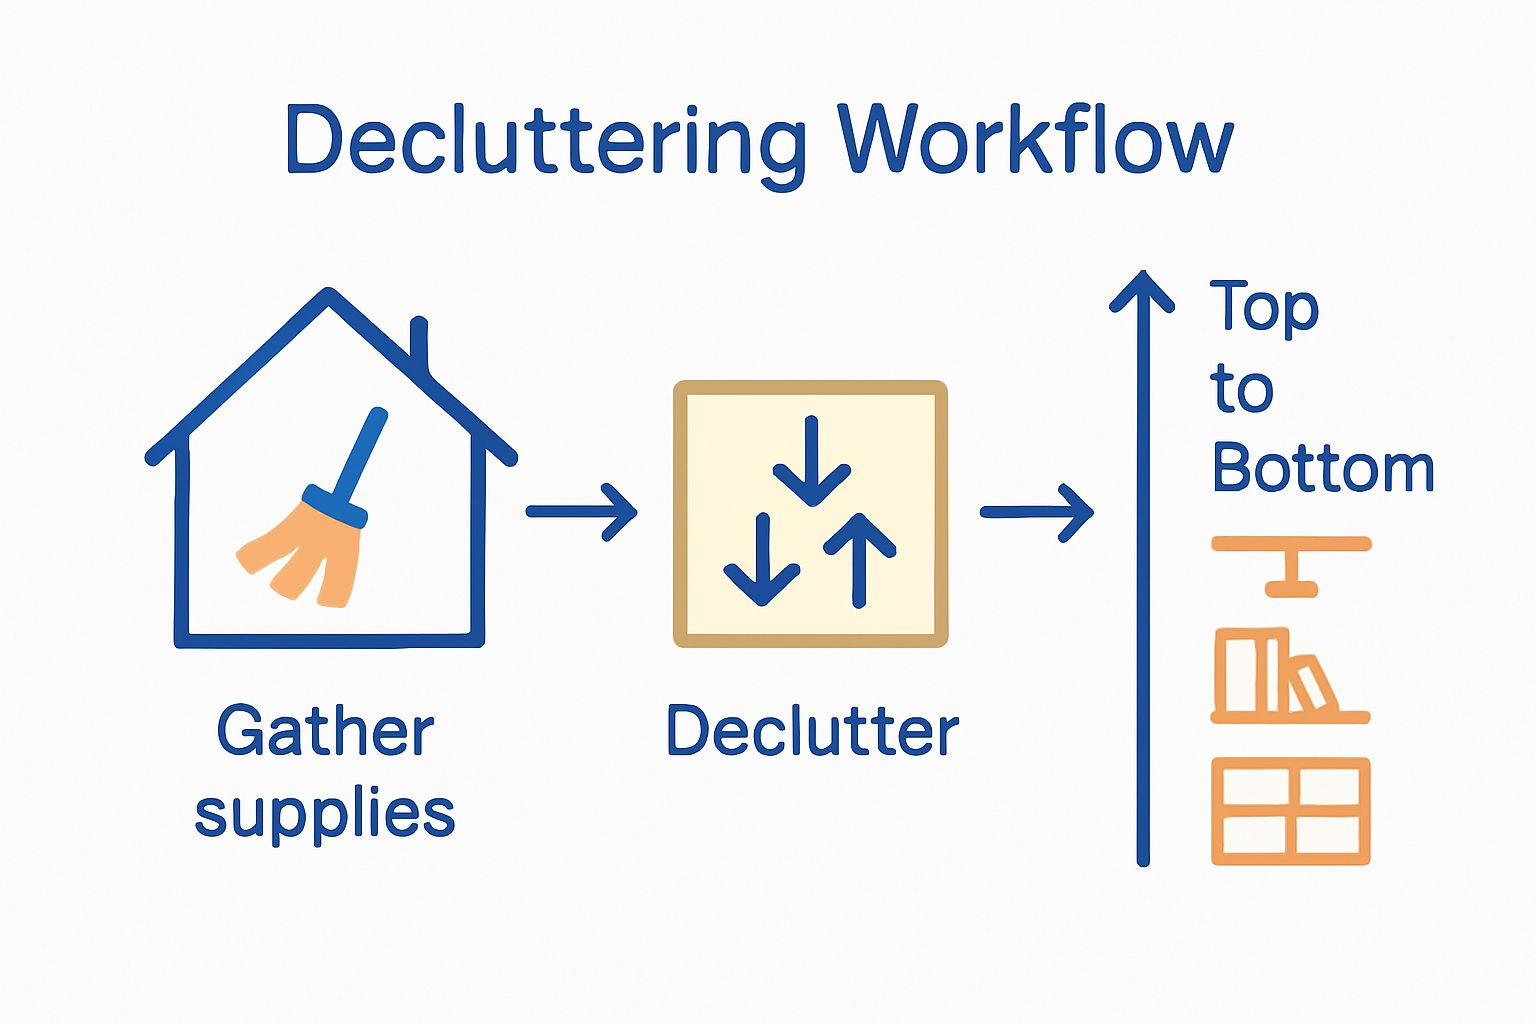
Decluttering transforms your apartment from a chaotic space into an organized sanctuary. Systematic decluttering is more than just tidying up – it is a strategic approach that reduces cleaning time and creates a more peaceful living environment. By methodically addressing each room, you eliminate unnecessary items and create clear spaces that are easier to maintain.
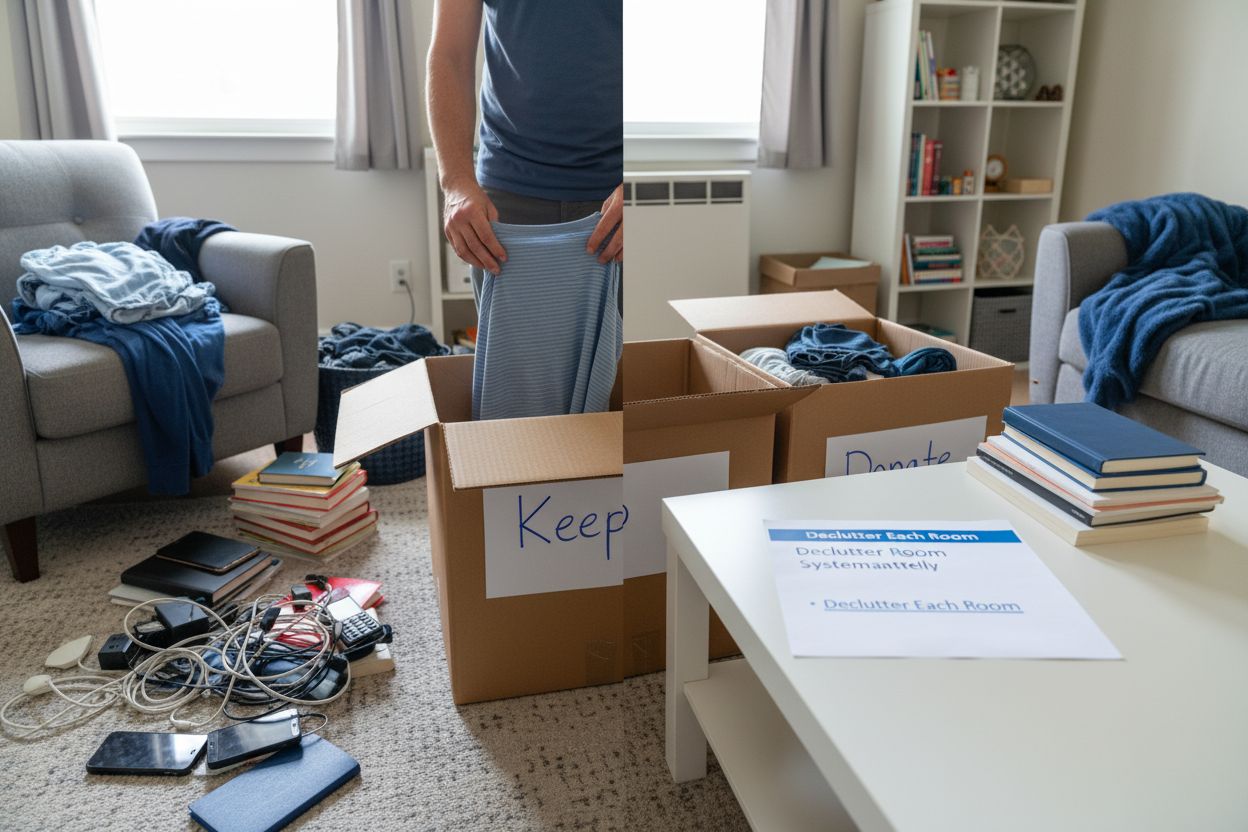
Begin your decluttering process with a strategic mindset. Select one room at a time to prevent feeling overwhelmed. Start with areas that accumulate the most clutter, typically living rooms, bedrooms, and home office spaces. Create three distinct sorting categories: keep, donate, and discard. This simple system helps you make quick decisions about each item you encounter.
For clothing and personal items, develop a practical approach. Pull everything out of drawers and closets, creating a clear visual inventory. Ask yourself critical questions about each item: Have you used this in the past year? Does it serve a current purpose? Is it in good condition? These questions help you make objective decisions about what truly deserves space in your apartment.
Learn more about creating an efficient weekly cleaning routine that incorporates regular decluttering as a core practice. Professionals understand that maintaining a clutter-free environment requires consistent effort and strategic planning.
Documents and paperwork often create significant visual chaos. Create a streamlined system for managing paper. Use a small filing cabinet or digital scanning solutions to organize important documents. Immediately discard unnecessary papers like old bills, outdated receipts, and junk mail. Develop a habit of processing mail and documents immediately upon arrival to prevent paper accumulation.
Digital clutter deserves equal attention. Clean up your digital spaces by organizing computer files, deleting unnecessary emails, and removing unused smartphone apps. This digital decluttering complements your physical space organization, creating a comprehensive sense of order.
Consider the psychological benefits of a well-organized space. A decluttered apartment reduces stress, increases productivity, and creates a more inviting living environment. By systematically addressing each room, you are not just cleaning – you are creating a personalized, efficient living space that supports your lifestyle and well-being.
Verify your decluttering success by ensuring each room feels more open, accessible, and purposeful. Every cleared surface and organized space represents a small victory in your apartment cleaning journey.
Step 3: Clean Surfaces Starting from Top to Bottom
Cleaning from top to bottom is a strategic approach that prevents unnecessary rework and ensures comprehensive apartment maintenance. This methodical technique guarantees that dust and debris naturally fall downward, allowing you to clean each surface efficiently without repeatedly cleaning the same areas.
Start with high surfaces like ceiling corners, light fixtures, and top shelves. Use an extendable microfiber duster with a flexible head to reach these typically neglected spaces. Carefully remove cobwebs and accumulated dust, working systematically across each room. Gravity becomes your cleaning ally – dirt and dust will naturally descend, making lower surface cleaning more straightforward.
Transition to cleaning upper surfaces like top of cabinets, refrigerator, and high shelves. Use a clean, slightly damp microfiber cloth to trap dust instead of dispersing it into the air. Pay special attention to areas where dust accumulates quickly, such as picture frames, window tops, and decorative items. Rotate your cloth frequently to prevent simply spreading dirt around.
Explore our comprehensive spring cleaning guide for additional insights into thorough surface cleaning techniques. Professional cleaners understand that consistent top-down cleaning prevents dust redistribution and maintains a cleaner environment.
Middle-level surfaces like countertops, tables, and shelves require careful attention. Use appropriate cleaning solutions for different materials – wood surfaces need gentle, wood-specific cleaners, while granite or marble demand specialized products. Wipe these surfaces thoroughly, removing any stains or marks, and ensure you are using clean cloths to prevent cross-contamination.
Finally, address floor-level surfaces. Vacuum or sweep first to collect fallen dust and debris before mopping. This sequence ensures you are not pushing around accumulated dirt. Choose cleaning tools appropriate for your floor type – microfiber mops for hardwood, specialized solutions for tile, and gentle cleaners for delicate surfaces.
Ergonomics matter during this process. Move methodically and avoid overreaching, which can cause strain or potential accidents. Take short breaks if needed, and use tools that extend your reach comfortably. Proper cleaning technique combines efficiency with personal safety.
Verify your cleaning success by checking for a uniform, dust-free appearance across all surfaces. Surfaces should look clean, feel smooth, and reflect light consistently. A top-to-bottom approach guarantees no area is overlooked, creating a comprehensively cleaned apartment.
Step 4: Deep Clean Key Areas Thoroughly
Deep cleaning transforms your apartment from superficially clean to genuinely sanitized. This critical step focuses on areas that accumulate the most grime, bacteria, and hidden dirt – spaces that regular cleaning often overlooks. By targeting these key zones, you create a healthier living environment that goes beyond surface-level tidiness.
Begin with the kitchen, the most high-traffic area in most apartments. Tackle appliances thoroughly, starting with the refrigerator. Remove all items, discard expired products, and clean interior shelves with a food-safe disinfectant. Pay special attention to frequently touched surfaces like handles, seals, and crisper drawers. Learn more about comprehensive kitchen deep cleaning techniques to ensure every corner receives proper attention.
The stovetop and oven demand meticulous care. Remove burner grates and soak them in warm, soapy water. Use a specialized degreasing cleaner for stubborn cooking residue. For electric or gas stovetops, carefully clean around heating elements, removing accumulated grease and food particles that can cause unpleasant burning odors or potential fire hazards.
Bathroom deep cleaning requires a systematic approach. Focus on areas prone to moisture and bacterial growth. Scrub grout lines between tiles, paying extra attention to corners and edges where mildew tends to accumulate. Use a specialized grout cleaner and a small brush to remove tough stains. Clean and descale shower heads, faucets, and drain areas to prevent mineral buildup and potential plumbing issues.
Sanitize high-touch surfaces throughout your apartment, including doorknobs, light switches, remote controls, and electronic device screens. Use microfiber cloths with appropriate disinfectant solutions that are safe for different surface materials. This step is crucial for eliminating germs and maintaining a healthy living space.
Address often-neglected areas like baseboards, window tracks, and behind furniture. Use a combination of vacuum attachments and microfiber cloths to remove dust and debris from these hidden zones. Move furniture slightly to access typically unreachable areas, ensuring a comprehensive cleaning approach.
Consider the unique challenges of your specific living space. Apartments with hardwood floors require different cleaning techniques compared to tiled or carpeted areas. Use cleaning solutions specifically designed for your floor type, avoiding excessive moisture that could cause damage.
Verify your deep cleaning success by conducting a thorough visual and tactile inspection. Surfaces should feel smooth, look spotless, and emit a fresh, clean scent. Touch surfaces to ensure no residue remains, and check hard-to-reach areas for any missed spots. A truly deep-cleaned apartment feels noticeably different – cleaner, fresher, and more inviting.
Step 5: Verify Cleanliness and Tidy Up
The final verification step transforms a basic cleaning routine into a professional-grade apartment maintenance process. This crucial stage ensures that every effort invested in cleaning produces the highest quality results. Think of it as your quality control checkpoint, where attention to detail makes the difference between an adequate and an exceptional cleaning outcome.
Begin your verification by stepping back and viewing each room from different angles. Natural and artificial lighting will reveal dust, streaks, or missed spots that might have been overlooked during initial cleaning. Move systematically through your apartment, examining surfaces, corners, and typically hidden areas with a critical eye. Your goal is to catch what automated cleaning might have missed.
Use a clean, white microfiber cloth as your final inspection tool. Gently run it across surfaces to detect any remaining dust or residue. This technique works exceptionally well on dark or glossy surfaces where dust and cleaning marks are most visible. Learn more about end-of-tenancy cleaning standards to understand the level of thoroughness professional cleaners maintain.
Address any remaining small tasks immediately. Replace items back to their original positions, ensuring everything looks organized and intentional. Straighten throw pillows, align picture frames, and create visual symmetry that signals a complete cleaning process. Small touches demonstrate your commitment to comprehensive apartment maintenance.
Focus on sensory verification beyond visual inspection. A truly clean apartment should smell fresh and feel crisp. Open windows briefly to circulate air and eliminate any lingering cleaning product odors. Use natural air fresheners like dried lavender or citrus peels if you prefer a subtle fragrance. The goal is a clean scent that feels inviting and pure, not overwhelmingly chemical.
Check high-traffic areas and surfaces with extra scrutiny. Entryways, kitchen counters, bathroom fixtures, and living room surfaces frequently require additional attention. Use a clean, dry microfiber cloth for a final wipe-down, removing any remaining moisture or potential cleaning product residue.
Create a quick maintenance routine to preserve your cleaning efforts. Place a small cleaning kit with multipurpose wipes in convenient locations, allowing for immediate spot cleaning. This proactive approach prevents dirt accumulation and maintains the pristine condition you have worked hard to achieve.
Verify your success through a comprehensive sensory and visual assessment. A perfectly cleaned apartment feels different – surfaces are smooth, rooms smell fresh, and everything appears purposefully arranged.
Here is a checklist table to guide your final verification step, with suggested actions, what to look for, and sensory checks for a truly professional cleaning result.
| Area/Task | What to Look For | Sensory Check |
|---|---|---|
| Surfaces | Free from dust, smudges, residue | Smooth to touch |
| Floors | Debris-free, no streaks | Clean, fresh smell |
| High-touch areas | No fingerprints or streaks | Feels dry and residue-free |
| Furniture arrangement | Items returned to place | Visual balance, symmetry |
| Lighting (room check) | No visible dust/streaks under light | Uniform appearance |
| Air/scent | No chemical or musty odors | Inviting, natural freshness |
| Entryways/kitchen/bath | Spotless, organized | Crisp, sanitary feel |
| Your final verification transforms cleaning from a chore into an art of creating a rejuvenated living space. |
Take the Stress Out of Apartment Cleaning in Malta
Are you tired of spending your valuable free time following every step of detailed cleaning checklists, only to feel like you are falling short? Many readers of our “Efficient Apartment Cleaning Checklist Guide for Busy Lives” struggle with finding enough hours and energy to maintain a consistently spotless home. Juggling work, decluttering, deep cleaning, and finally verifying every detail can quickly become overwhelming. If you are in Malta, you do not have to face this challenge alone. Discover a better way to keep your apartment fresh and comfortable by exploring our Cleaning in Malta resources.

Why wait and struggle when you can get professional help in just a few clicks? Join thousands of busy people who use Rozie.app to book trusted, verified cleaners whenever you need. With 7 days a week support and guaranteed payment protection, your path to a consistently clean and welcoming apartment starts now. Check out our tips, book your cleaner, and let us help you free up time for what really matters. Ready for a smarter approach to apartment cleaning? Visit Rozie.app today and experience peace of mind.
Frequently Asked Questions
How can I create an efficient cleaning checklist for my apartment?
To create an efficient cleaning checklist, start by listing essential cleaning tasks for each room, such as dusting, vacuuming, and sanitizing surfaces. Organize the tasks by room and frequency—daily, weekly, or monthly—so you can manage your cleaning without feeling overwhelmed.
What supplies do I need for an efficient apartment cleaning?
Essential supplies for efficient apartment cleaning include microfiber cloths, all-purpose cleaners, and specialized products for different surfaces like wood or tile. Gather these items into a portable cleaning caddy so you can easily move them from room to room, minimizing interruptions during your cleaning routine.
How do I declutter my apartment effectively?
To effectively declutter your apartment, tackle one room at a time and use a sorting system with three categories: keep, donate, and discard. Pull everything out of drawers and closets to visually assess your items, asking yourself if each item has been used in the past year or serves a current purpose.
What is the best order to clean my apartment?
The best order to clean your apartment is to start from the top and work your way down—begin with ceiling corners and light fixtures, then upper surfaces, middle surfaces, and finally, floors. This method prevents dust from falling onto already cleaned areas, ensuring a thorough and efficient cleaning process.
How often should I deep clean my apartment?
You should aim to deep clean your apartment at least once a season, or every three months, to maintain a healthy and hygienic environment. During deep cleaning, focus on high-traffic areas like the kitchen and bathroom to tackle grime and bacteria that can accumulate between regular cleanings.
What quick maintenance tips can I follow after cleaning?
After cleaning, establish a quick maintenance routine by keeping a small cleaning kit handy for immediate spot cleaning. Aim to wipe down high-traffic areas with multipurpose wipes daily, which can help maintain cleanliness and prevent dirt buildup, keeping your apartment fresh-at home.
Recommended
- 7 Essential Tips for Your Household Cleaning Planner | Rozie – Malta’s Best Cleaning Services
- Understanding Cleaning Time Management for Busy Lives | Rozie – Malta’s Best Cleaning Services
- Effortless Weekly Cleaning Routine for Busy Professionals | Rozie – Malta’s Best Cleaning Services
- Create a House Cleaning Schedule Daily Weekly Monthly for 2025 | Rozie – Malta’s Best Cleaning Services

